 Vanta Panel
Migrate from cPanel — the complete guide
Move every site from cPanel to your own VPS running Vanta Panel: full backups over SSH, automatic restore, DNS cutover and post-migration checks.
Moving from a cPanel server to your own VPS running Vanta Panel is a copy-based migration: your old server is never modified, your sites keep running on it the whole time, and you only switch the domains over when everything is tested and working on the new machine. If anything goes wrong you simply don't switch — that is your rollback plan.
This guide walks the whole journey from A to Z: getting the VPS, installing Vanta Panel, taking a full backup of a cPanel account over SSH, moving it server-to-server, importing it in vWHM, testing, and finally pointing the domains. Repeat steps 3–8 for every account you host.
What imports automatically: all website files, the databases you select, mailbox folders (with the old messages that live in the home directory), cron jobs (paths rewritten), and — since v4.75 — the database settings inside wp-config.php (WordPress), .env (Laravel) and configuration.php (Joomla) are rewritten automatically to the new credentials, so those sites boot with no manual edits.
What you re-do by hand afterwards: mailbox passwords (cPanel's hashes aren't portable), custom DNS records (SPF/DKIM/external MX), SSL certificates (issued fresh in one click), and any addon domains or FTP accounts.
1. Get a VPS or dedicated server
You need a fresh server with Ubuntu 22.04 LTS or newer, or Debian 12 or newer, root SSH access, and at least 2 GB RAM (4 GB+ recommended if you run several sites). Any provider works.
When it's provisioned, note its IP address — we'll call it 203.0.113.10 in this guide (replace it with yours everywhere).
2. Install Vanta Panel on the new server
Connect to the new server with PuTTY (host: your new IP, port 22, user root) and run the one-line installer:
curl -fsSL https://get.vantapanel.com | sudo bash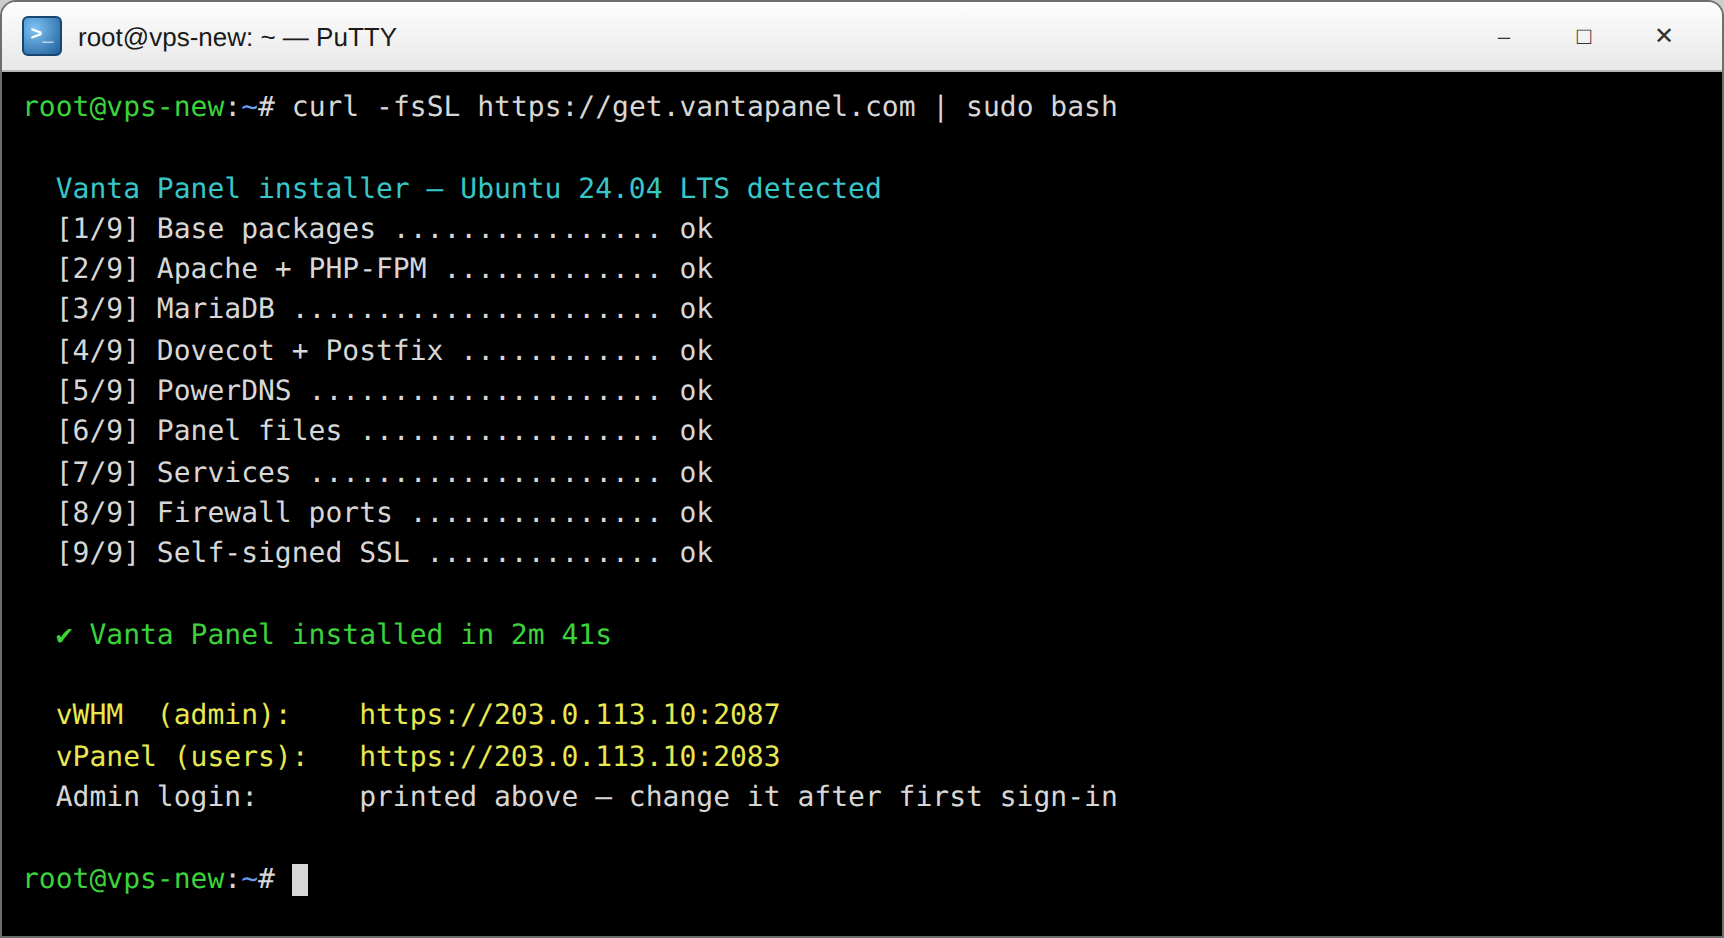
About three minutes later the installer prints your panel URLs and the admin login. Sign in to vWHM at https://YOUR-IP/vwhm (your browser will warn about the temporary self-signed certificate — that's expected until step 8).
3. Take a FULL backup on the old cPanel server
You have two ways — pick whichever matches the access you have.
Option A — over SSH (root): connect to the old cPanel server with PuTTY and run cPanel's own account packager:
/scripts/pkgacct mysiteReplace mysite with the cPanel username. When it prints pkgacct completed, the archive is at /home/cpmove-mysite.tar.gz. Take its checksum too — we'll verify the copy with it:
ls -lh /home/cpmove-mysite.tar.gz
sha256sum /home/cpmove-mysite.tar.gz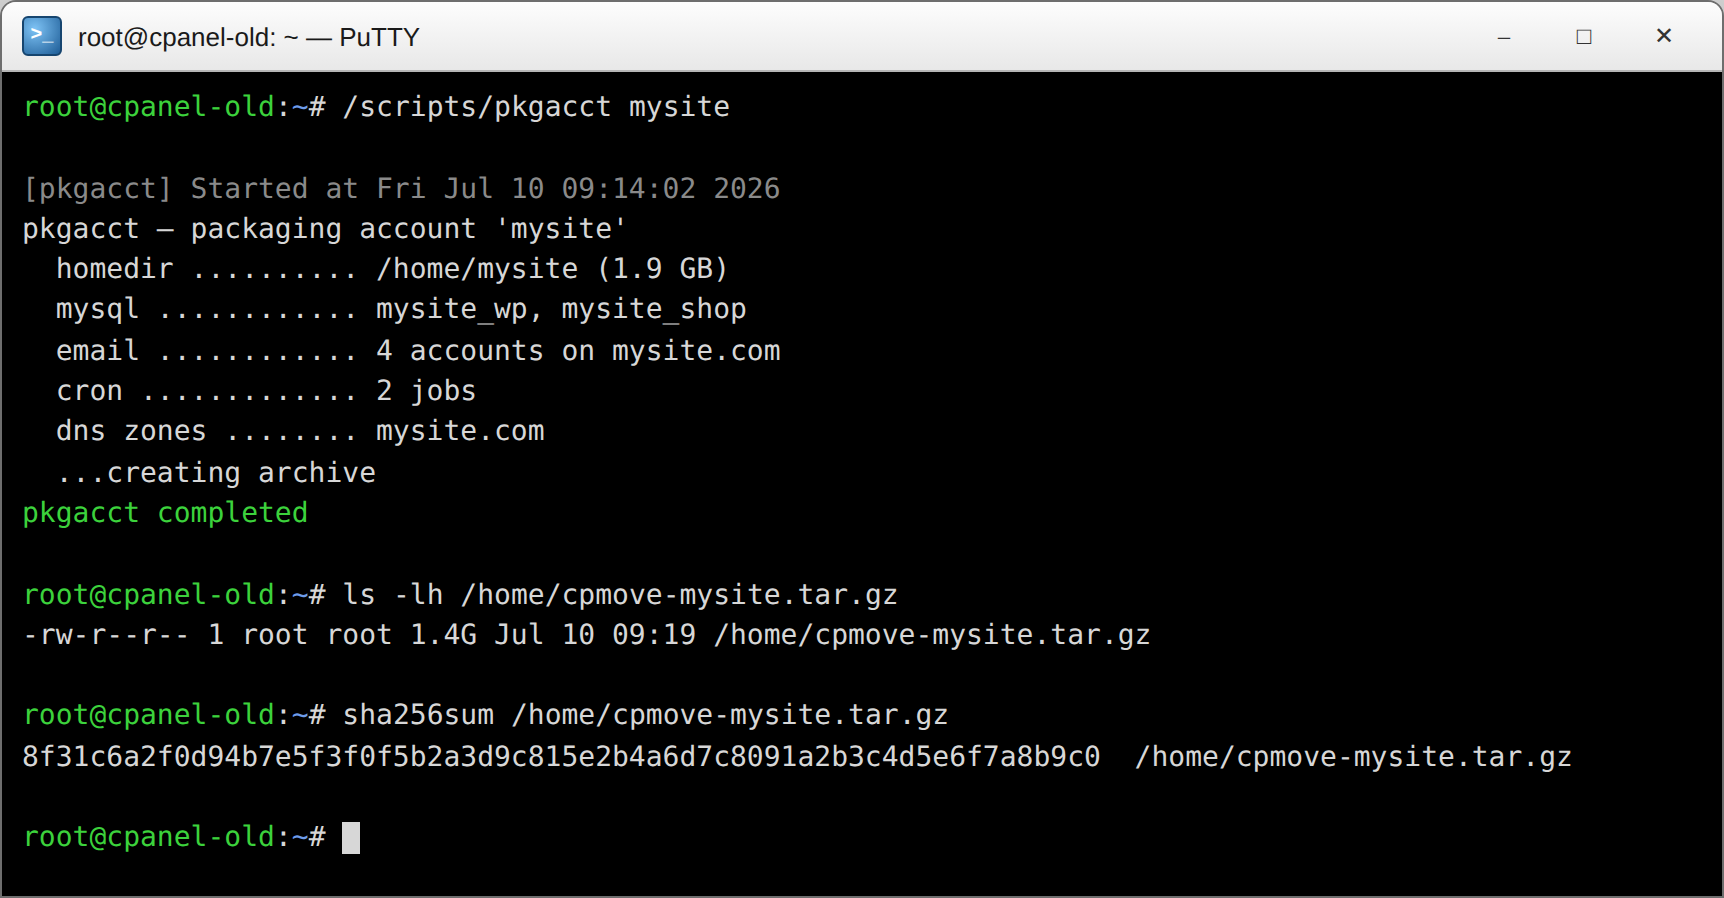
Option B — from cPanel (no root needed): log in to cPanel → Backup → Download a Full Account Backup → Generate. When it's ready you get backup-…tar.gz — same format, works the same way in the import.
4. Move the archive to the new server
For anything bigger than a few hundred MB, copy it directly server-to-server with scp — no download to your PC needed. Still on the old server:
scp /home/cpmove-mysite.tar.gz root@203.0.113.10:/var/lib/vantapanel/cpimports//var/lib/vantapanel/cpimports/ is Vanta Panel's import drop-box — anything you place there appears on the Import page automatically.
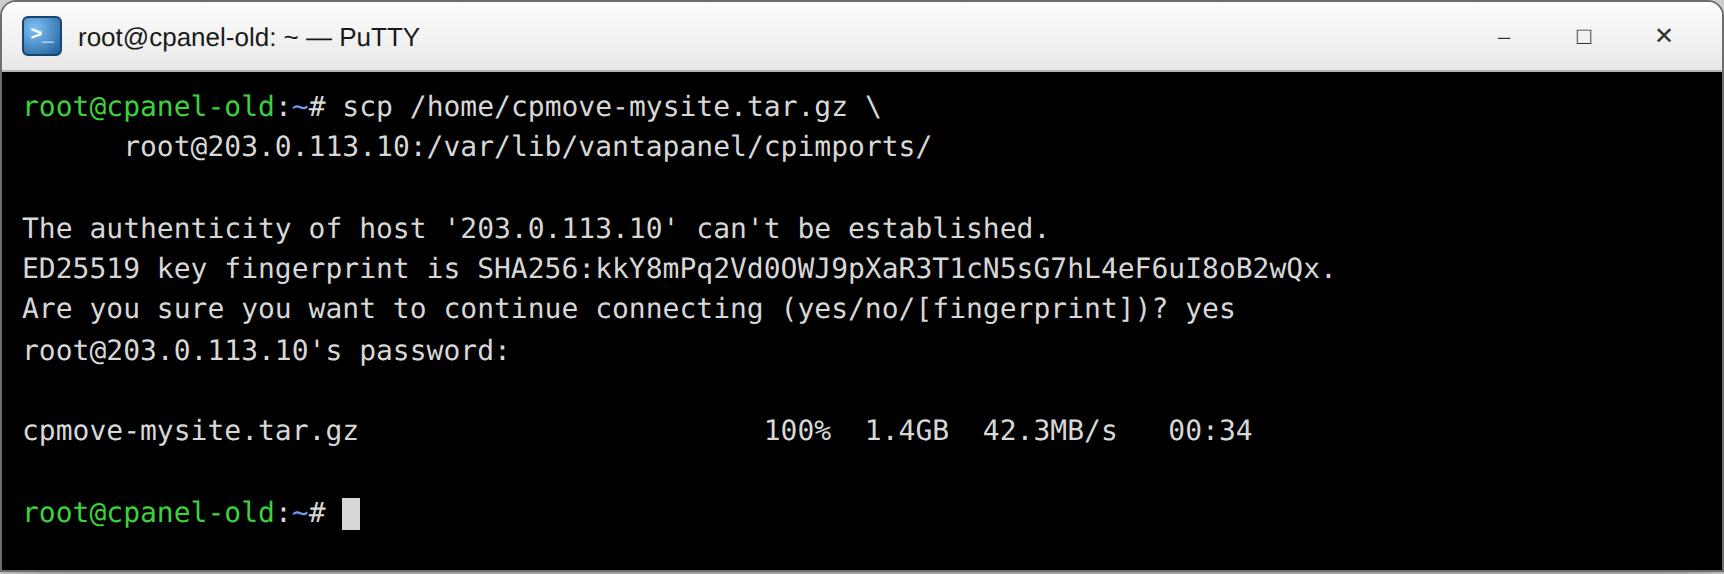
Then hop onto the new server and verify the copy is intact — the checksum must match the one from step 3:
sha256sum /var/lib/vantapanel/cpimports/cpmove-mysite.tar.gz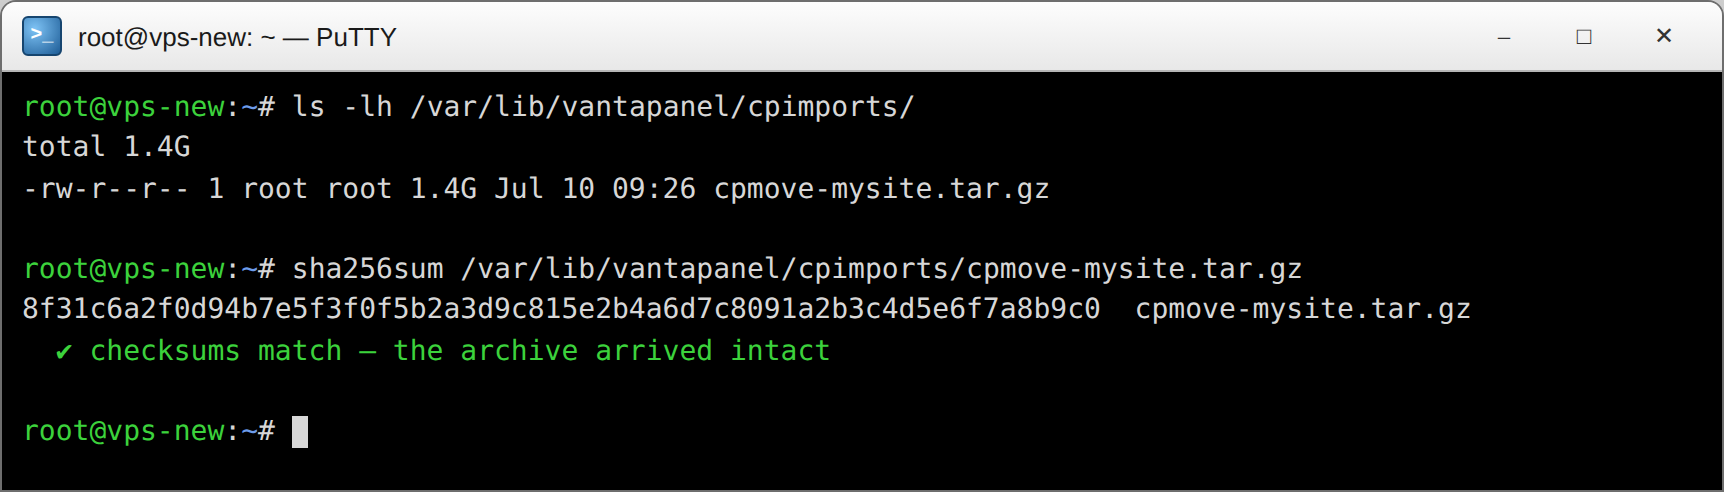
Small account? You can skip SSH entirely: just download the backup in your browser and upload it on the Import page in step 5.
5. Import the account in vWHM
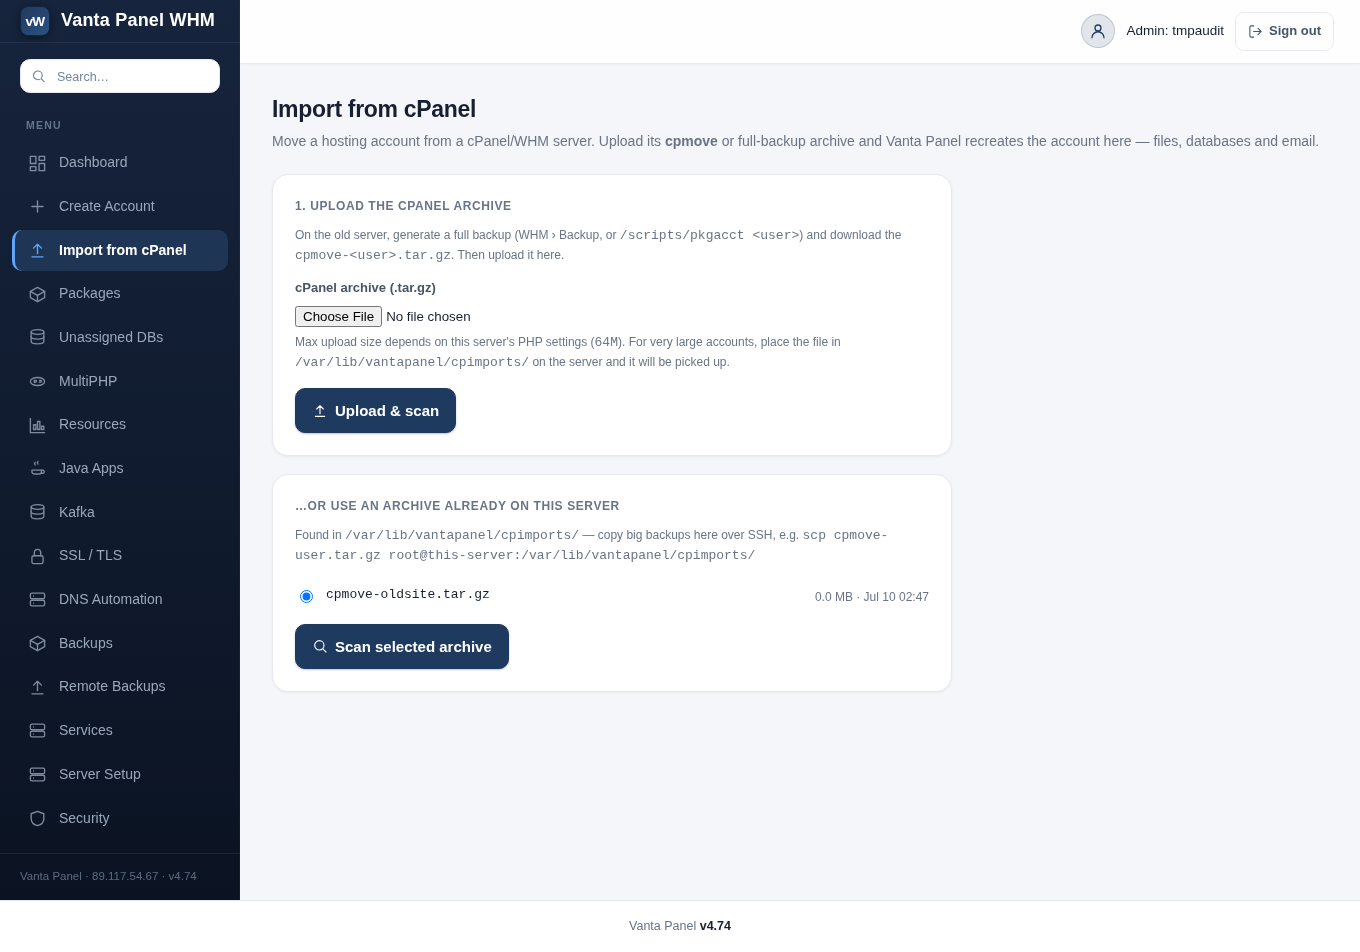
Open vWHM → Import from cPanel. The archive you copied over SSH is already listed under "…or use an archive already on this server" — select it and click Scan selected archive.
Vanta Panel reads the archive without extracting it and shows everything it found — the cPanel user, primary domain, databases, email accounts and cron jobs. Choose the new username and set a password, tick what you want imported, and click Create account & import.
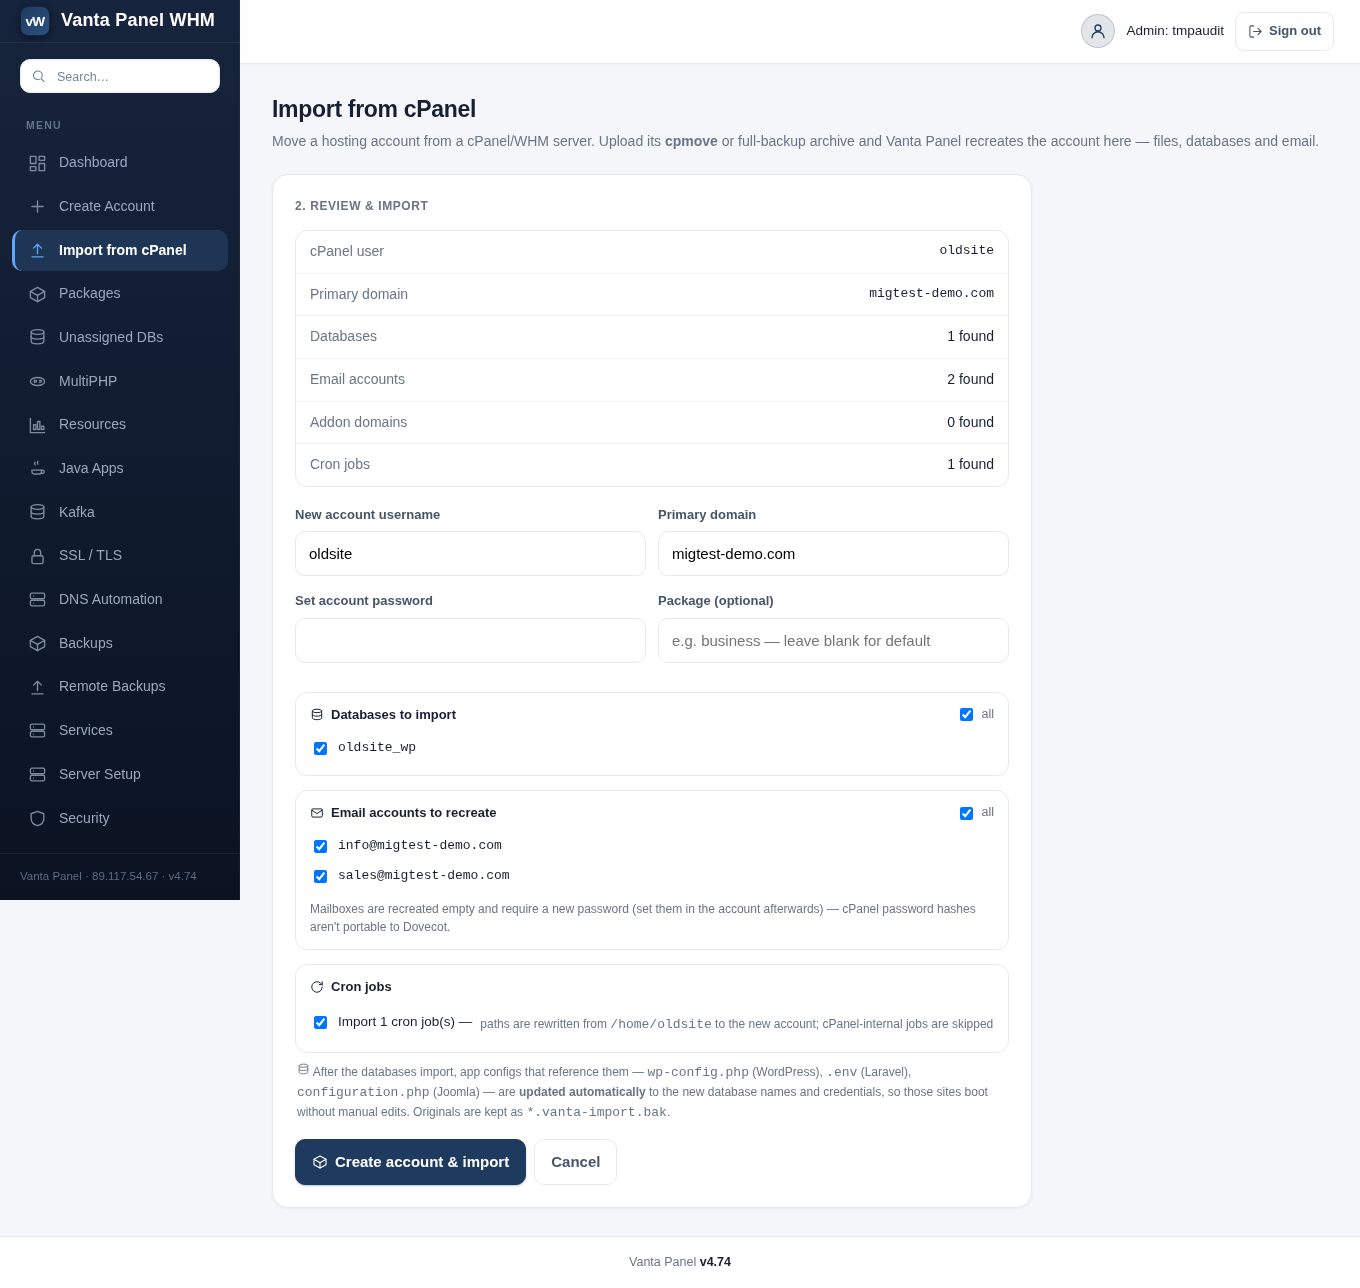
The import runs in the background with live progress: files are restored, each database is streamed straight from the archive into MySQL under its new name, app configs are rewritten automatically to the new database credentials, mailboxes are recreated, and cron jobs are installed with their /home/olduser/... paths corrected.
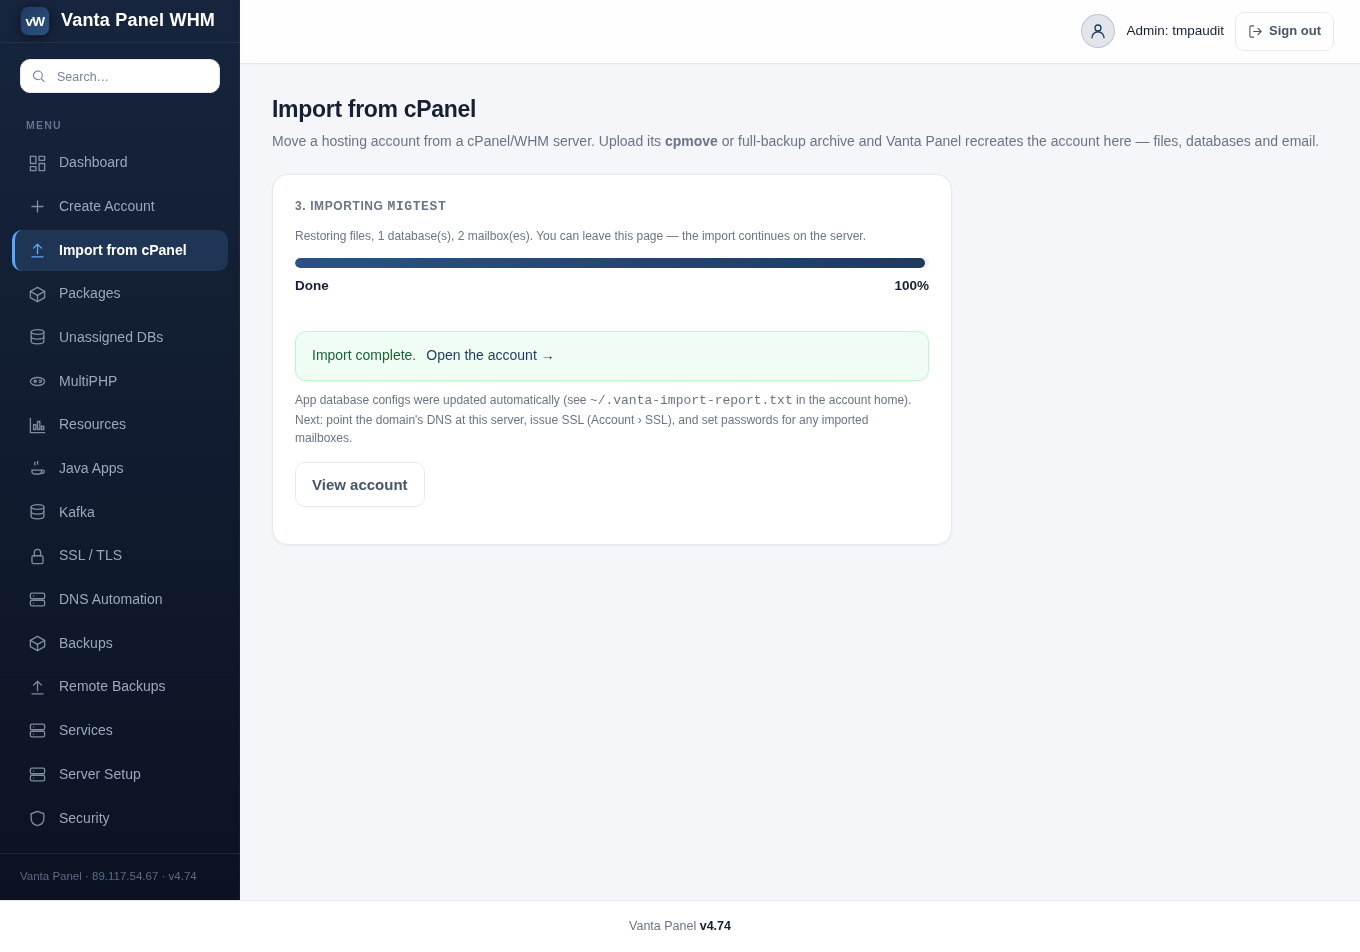
When it finishes, open the account. A summary of every config file that was auto-updated is saved in the account's home directory as .vanta-import-report.txt, and the originals are kept next to each file as *.vanta-import.bak.
6. Test the site BEFORE touching DNS
Don't switch anything yet — first prove the site works on the new server. Trick your own computer (only) into seeing the new server by adding one line to your hosts file.
On Windows, open Notepad as Administrator, then open C:\Windows\System32\drivers\etc\hosts and add:
203.0.113.10 mysite.com www.mysite.com(On macOS/Linux the file is /etc/hosts.)
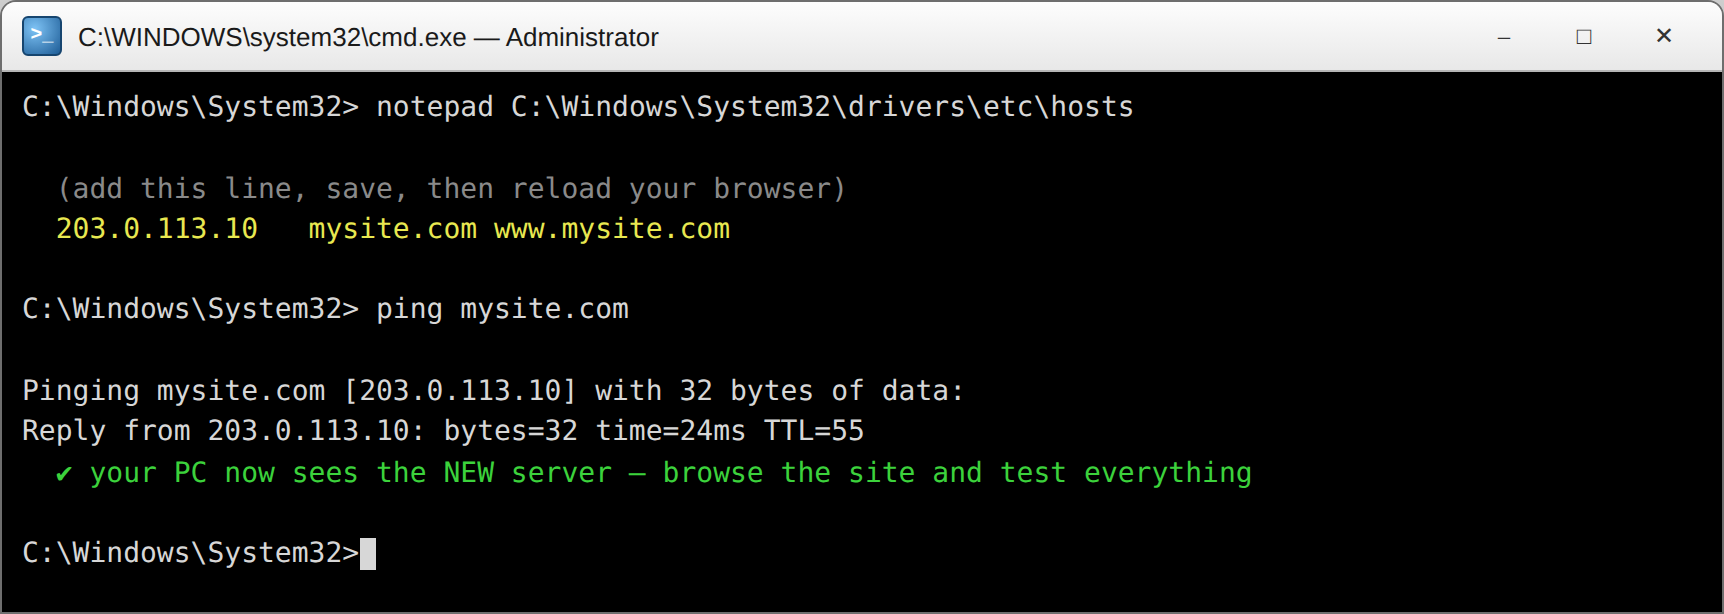
Reload the browser and click through the whole site — pages, admin login, forms, checkout. Because of the auto-rewritten configs, a WordPress site should come up immediately. When you're satisfied, remove that hosts line again.
7. Point the domains at the new server
Now the real switch. About a day before, lower the domain's DNS TTL to 300 seconds so the change propagates fast. Then either:
- Keep your current DNS provider (Cloudflare, registrar DNS…): change the domain's A records (
@andwww) to the new server IP203.0.113.10. This is the simplest and safest route. - Use Vanta Panel as the DNS server: vWHM created a zone for the domain during import. Set up private nameservers (
ns1.yourbrand.com/ns2.yourbrand.com) and change the domain's nameservers at the registrar.
Recreate any custom DNS records the old zone had — SPF, DKIM, external MX, verification TXT records — before switching, so mail and integrations don't blink.
8. Finish up: SSL, mailboxes, final checks
- SSL: once the domain resolves to the new server, open the account → SSL and issue a free Let's Encrypt certificate — auto-renewing, one click. (details)
- Mailboxes: set a new password on each imported mailbox (account → Email). The old messages are already there; only the passwords couldn't be carried over. Update the devices/clients that fetch that mail.
- Cron: glance at account → Cron — the imported jobs are listed with corrected paths.
- Watch it for a few days while keeping the old cPanel server running as your safety net. When the new server has served traffic without issues, cancel the old plan.
Troubleshooting
- The upload is too big for the browser — use the SSH route from step 4; the drop-box has no size limit.
- The archive isn't listed on the Import page — make sure it's directly inside
/var/lib/vantapanel/cpimports/and ends in.tar.gz, then reload the page. - A site shows a database connection error — open
~/.vanta-import-report.txtin the account home. If the app uses a config file we don't rewrite yet, copy the new DB name and the<user>_qikcredentials from vWHM → Account → Databases into it manually. pkgacctnot found — you're not root on the old server; use Option B (cPanel → Download a Full Account Backup) instead.- Mail clients can't log in after the move — expected: set new mailbox passwords first (step 8), and update the mail client's server name to the new host.
cPanel® and WHM® are trademarks of their respective owners. Vanta Panel is an independent product and is not affiliated with, endorsed by, or sponsored by them. The pkgacct backup format is read directly; your cPanel server is never modified by this process.