
Installing Vanta Panel
Install Vanta Panel on a fresh Ubuntu or Debian VPS with one command. Requirements, the signature-verified one-liner, install options, first login and how to upgrade.
On this page 5 sections
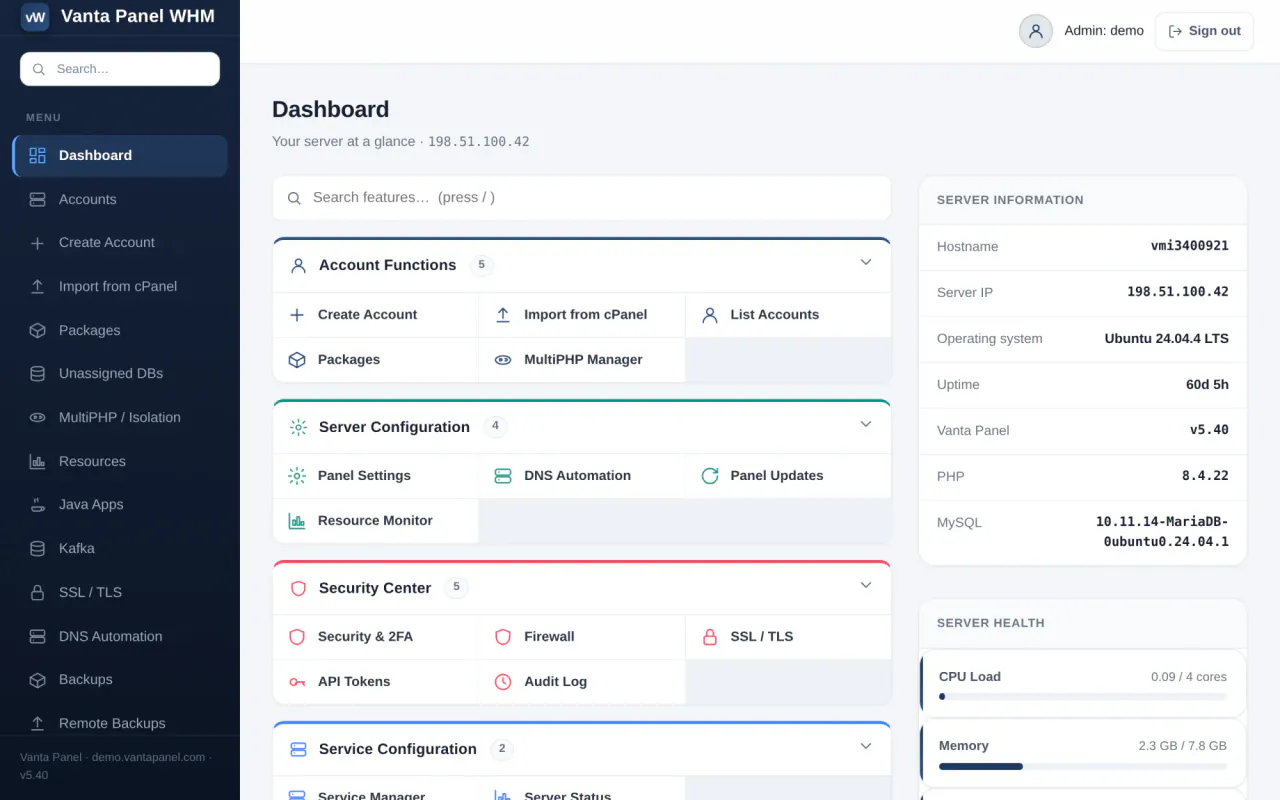
This guide takes you from a fresh server to a working panel in a few minutes.
Requirements
- A fresh VPS running Ubuntu 22.04 LTS (or newer) or Debian 12 (or newer). Older releases ship PHP 7.x, which the panel does not support — the installer stops with a clear message if the version is too old.
- 64-bit CPU (x86_64 or arm64).
- ~2 GB RAM and ~3 GB free disk minimum.
- Root access (run the installer with
sudo). - Nothing else already serving ports 80/443 — no existing nginx or Apache.
Recommended ports open at your VPS provider's firewall: 80 and 443 for the panel and websites, 22 for SSH, and the mail ports (25, 587, 465, 143, 993, 110, 995) only if you use email.
Run on a clean server. The installer configures Apache, MariaDB, Postfix, Dovecot and more; mixing it with an existing web or mail stack is unsupported.
Install
Run this on the server as root:
curl -fsSL https://get.vantapanel.com | sudo bashThat is the whole install. The command fetches the release manifest, verifies the download, extracts it, and hands over to the bundle's own installer.
What the one-liner checks before installing anything
- It confirms the server can reach the internet, and stops with a clear message if not — a missing default route or a provider firewall is the usual cause.
- It downloads the release and checks its SHA-256 against the published manifest.
- It then verifies a detached Ed25519 signature over the release, against a public key pinned inside the installer itself. A SHA-256 alone only proves the download matches what the server said; the signature proves the release was published by us. If the signature does not verify, the install aborts rather than running unverified code.
To download and verify a release without installing it, set VP_BOOTSTRAP_ONLY=1:
VP_BOOTSTRAP_ONLY=1 curl -fsSL https://get.vantapanel.com | sudo bashThe installer runs pre-flight checks (OS, PHP version, architecture, disk, ports) and is idempotent — re-running it is safe and never resets your database password or admin account.
Installing from a downloaded bundle
If you already have a release zip — an air-gapped server, or a version you are pinning deliberately — extract it and run the installer directly:
unzip vantapanel.zip
cd vantapanel
sudo bash bin/install.sh
This skips the signature check that the one-liner performs, so only do it with a bundle you obtained yourself and trust.
Optional install settings
Set any of these environment variables before the command, for example curl -fsSL https://get.vantapanel.com | sudo DOMAIN=panel.example.com bash:
DOMAIN— brand the panel to this domain and usemail.<domain>as the mail hostname. If omitted, the panel is reached by the server's public IP on a self-signed certificate.ADMIN_USER— admin username (defaultroot).ADMIN_PASS— admin password (default: a random one is generated and printed).VANTAPANEL_SKIP_MAIL=1— skip the mail server (Postfix/Dovecot/SpamAssassin).VANTAPANEL_SKIP_WEBMAIL=1— skip Roundcube webmail.VANTAPANEL_WHM_GATE=1— add an extra HTTP Basic Auth prompt in front of/vwhmas defence in depth. Off by default, because the panel already has its own login and optional 2FA, and a second prompt with a different password confuses first-time admins.
When it finishes, the installer prints a banner with your access URLs and logins — save those immediately. They are also written to /root/vantapanel-install.txt, readable only by root.
First login
Open the admin panel at https://<your-domain-or-IP>/vwhm and sign in with the admin username and password the installer printed. That is one login — on a default install there is no second prompt.
If you deliberately enabled VANTAPANEL_WHM_GATE=1, you will be asked twice: first the browser's Basic Auth prompt, then the panel's own login.
Using the IP with no domain? The certificate is self-signed, so your browser warns on the first visit — click through to proceed. See Getting a trusted SSL certificate to fix this.
The user panel for hosting accounts lives at https://<your-domain-or-IP>/vpanel.
Reset the admin password
If you lose the password, reset it from the server:
sudo -u paneluser php /opt/vantapanel/bin/vantapanel-admin.php root 'NewPassword'Upgrading
Re-run the one-liner. It is safe, preserves your data, and never resets your admin account or database password:
curl -fsSL https://get.vantapanel.com | sudo bashAlternatively, the vWHM Updates page applies new versions in place with one click, and automatic updates are on by default — the panel checks daily and installs new signed releases by itself, then emails you the result. Every update is SHA-256 and Ed25519 verified and backs up the current install first. See Updating Vanta Panel.
Something missing or out of date? Ask support, or try it yourself on the live demo.